How to Make a Canvas Course Accessible
How to Use UDOIT in Canvas
This guide is part of a series of guides designed to help you address accessibility errors in Canvas using UDOIT. Each guide in the series provides step-by-step instructions and practical tips to ensure your Canvas courses are accessible to all users.
This guide covers the following topics:
- How do I start fixing a course by copying it into a sandbox?
- How do I design accessible content (in order to prevent errors)?
- How do I scan my course for errors?
- How do I fix errors in documents?
How do I start?
Are you preparing your Canvas course design for a future term? It’s great to work ahead!
Before You Start: Copy Content to a Sandbox
Do not make changes to a Canvas course from a previous term. This can unintentionally impact the system’s records of student activity.
Instead, create a sandbox course and import content into it. You can create a sandbox course at any time. This sandbox copy of your course will allow you to safely make changes to your course content and experiment as needed.
Please contact the UW-Superior Canvas Team if you need help creating a sandbox or importing content.

Step One: Design Accessible Content
Use the Seven Pillars of Accessibility—listed at the end of this guide—to design accessible content.
Think about accessibility as you input content into Canvas—it’s easier to create accessible content up front than it is to correct errors after the fact. Check your content every time you add a new item to your modules or edit an existing item.
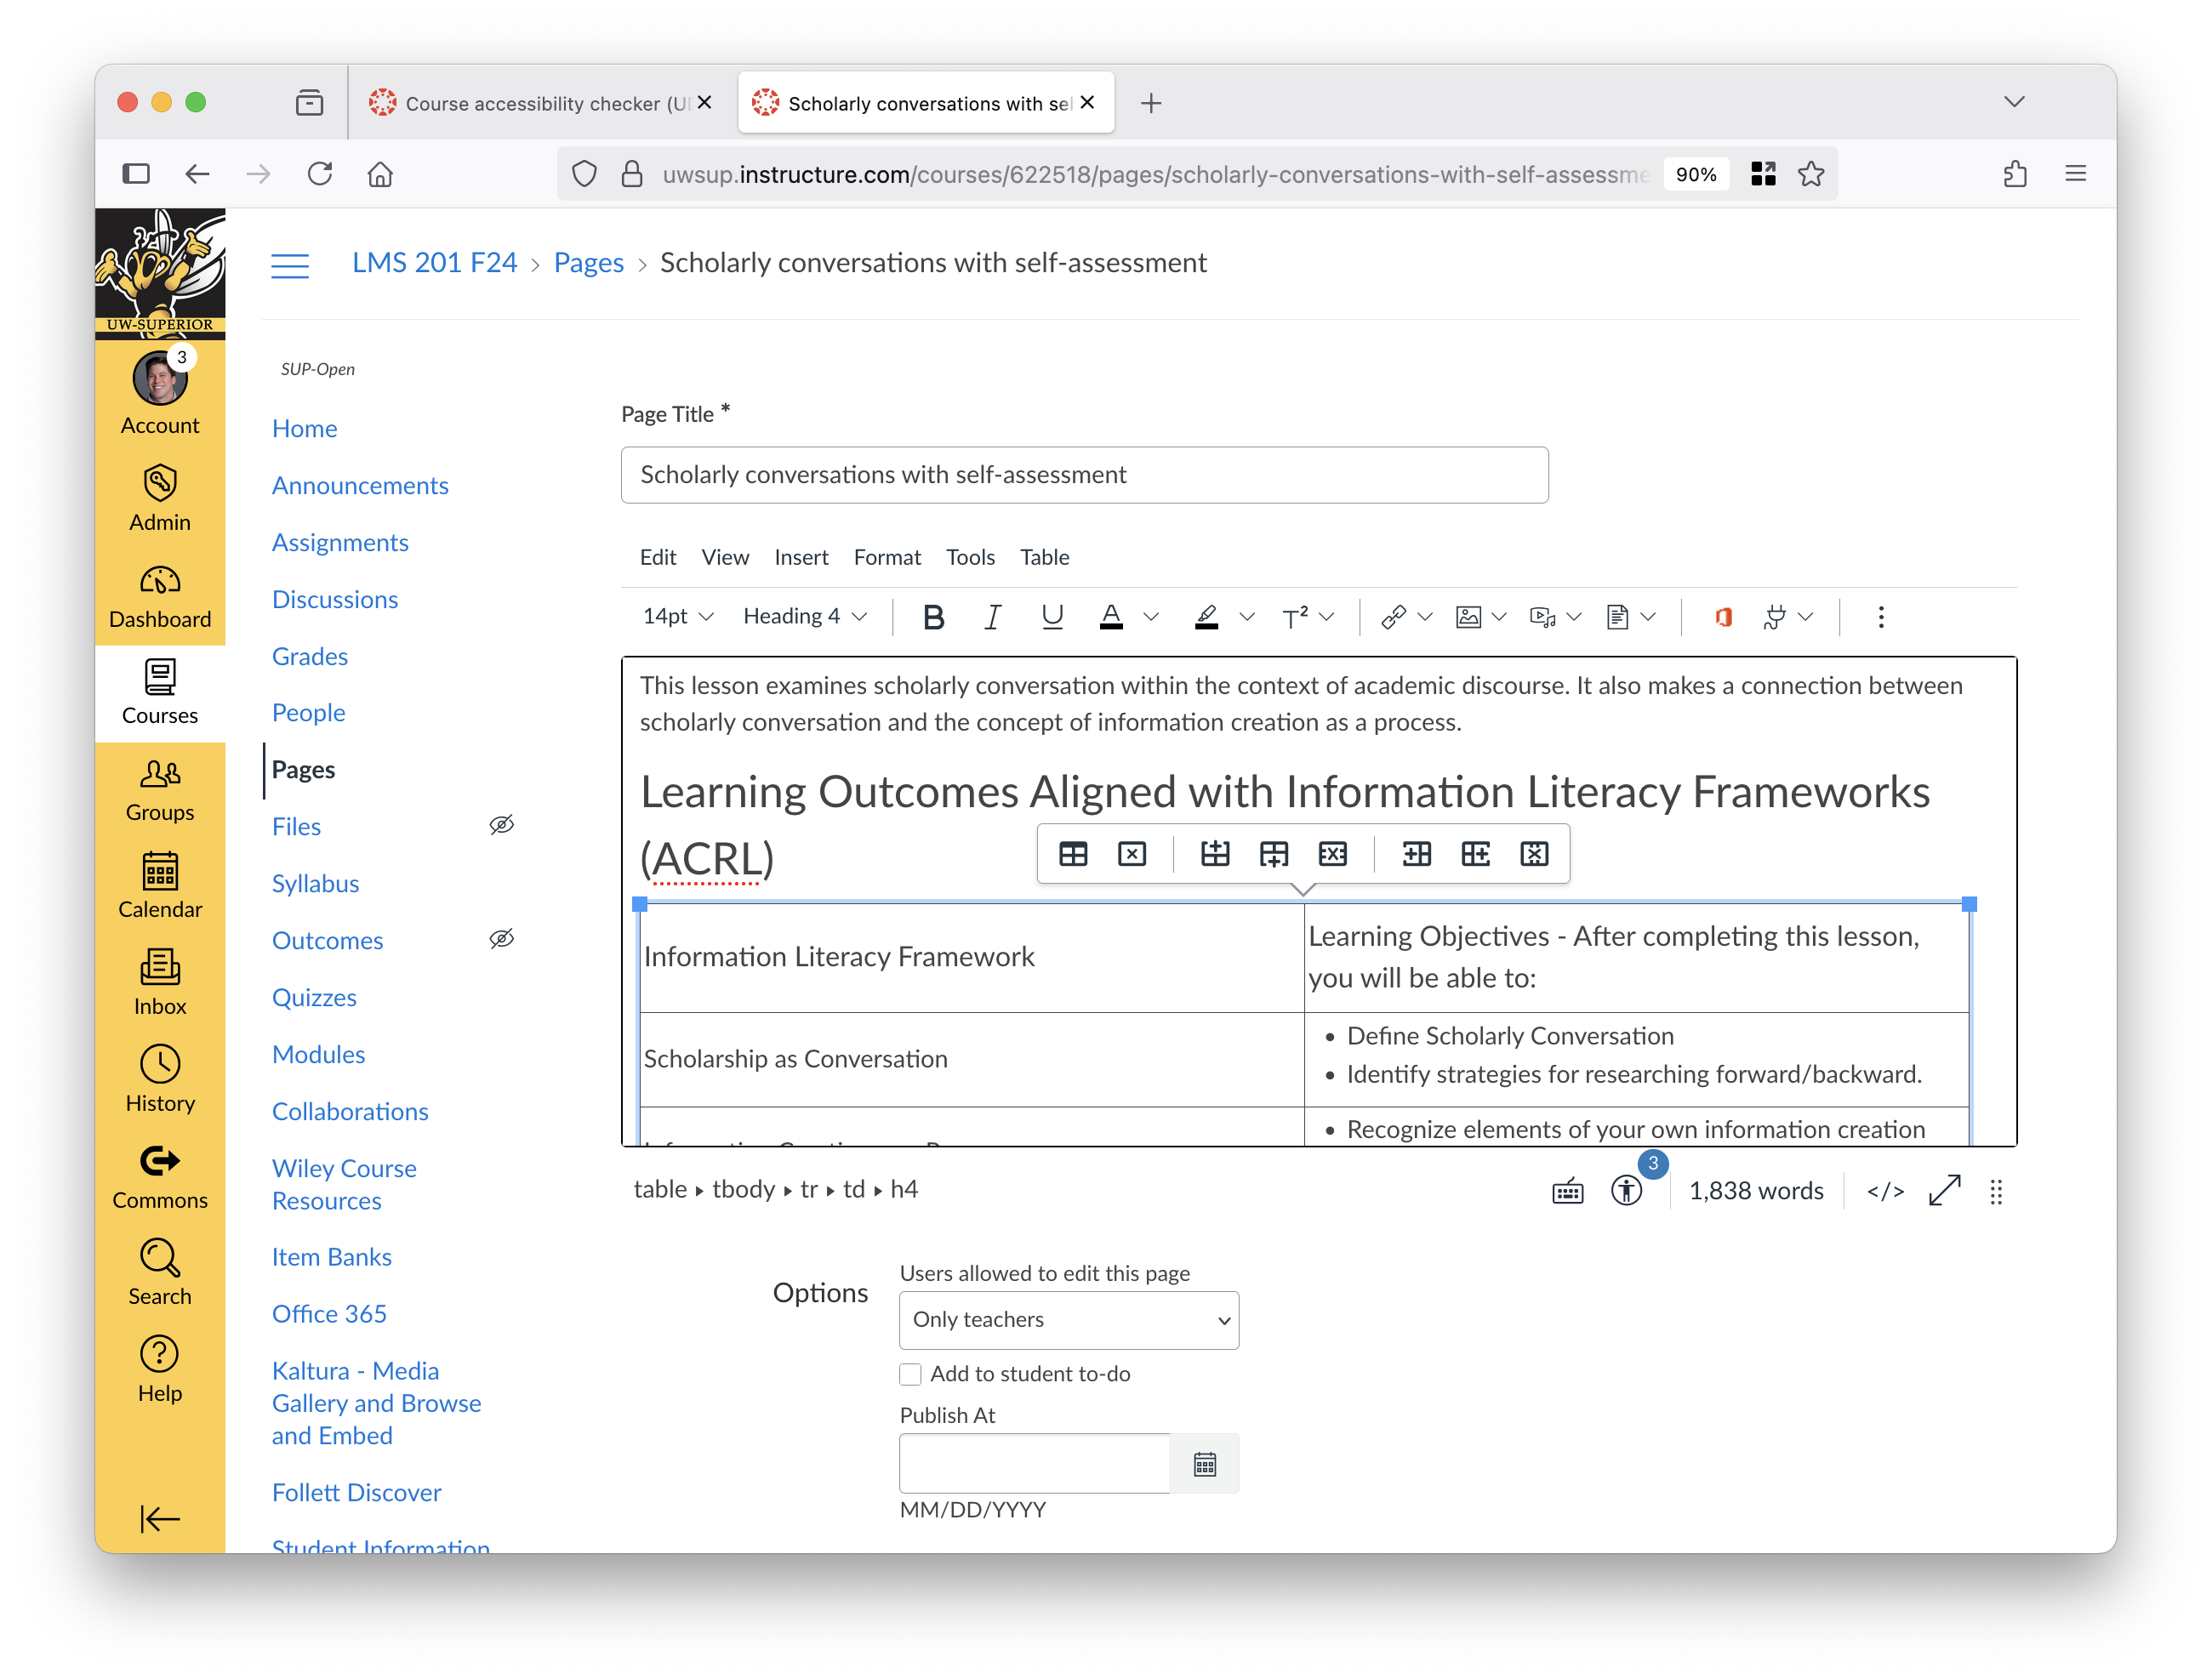
To confirm your content is accessible as you work, use the Canvas Accessibility Checker built-into the Canvas Rich Content Editor (RCE). Click the stick-figure icon below the RCE text entry box to open the Accessibility Checker.


Step Two: Remove Unused Course Content
Use TidyUp—available in the course Navigation menu—to identify and remove unused files, folders, and Canvas content from your course.
First, scan your course. Then, under the "Files" tab, select Unused Files in the "Show" menu to identify unused files. These are files that are not currently being linked to from a module or Canvas content. Hover your mouse over the file name to view more details about the file. To delete a file, you can (1) click the red trash can icon to the right of the file, or (2) click the checkbox to the left of each file you would like to delete and then click Delete Selected to the right.

Under the "Canvas Content" tab, use the various columns (i.e., Used In, Published) to determine if any content can be deleted. The "Used In" column will show if the content is linked in a module or directly in other Canvas content (e.g., a page, discussion). To delete an item, you can (1) click the red trash can icon to the right of the item, or (2) click the checkbox to the left of each item you would like to delete and then click Delete Selected to the right.

For a more in-depth look at using UDOIT, please visit the following guide: Canvas - How to Remove Unused or Duplicate Files with TidyUp
Step Three: Scan Your Course with UDOIT
After completing your course, always scan it using UDOIT, a powerful digital accessibility tool available in all UW-Superior Canvas courses. This scan will identify accessibility barriers in course pages, activities, and many published files. UDOIT is listed in the course Navigation menu.
UDOIT identifies many different types of digital accessibility errors and will provide additional suggestions, which you should usually act on. For more information about how UDOIT identifies errors and makes suggestions, please visit the following guide: UDOIT - How to View and Interpret Your UDOIT Course Accessibility Score

To fix an issue, open the "UFIXIT" tab. Then, click Review to next to an issue to learn why it was flagged and how to fix it. Finally, open the page where the issue is located, and fix the problem. This will make it easier to understand the error and correct it within the context of other information on the page rather than fixing all issues directly in UDOIT.
Fix all errors that UDOIT identified. Then, fix any suggestions that fall under the Seven Pillars of Accessibility, which we summarize later in this guide. If you fix any issues outside of UDOIT, you must rescan your course to have those changes be reflected in the tool.

<h2> to <h4>, which is a header sequence error. This error is easier to understand and to correct accurately using the Canvas RCE.For a more in-depth look at using UDOIT, please visit the following guide: Canvas - How to Use the UDOIT Digital Accessibility Tool
Step Four: Scan, Fix, Reupload, and Convert Documents
Unlike errors UDOIT finds in Canvas pages, quizzes, assignments, and discussions, errors in documents used in Canvas usually can’t be fixed with UDOIT.
Instead, you must use the appropriate software accessibility checker outside of Canvas to fix any errors. For example, to fix a Word document used in your course:
- Download the document to your computer.
- Open it with Microsoft Word.
- Scan it with the Microsoft Word accessibility checker.
- Fix all errors the checker identifies (plus any issues covered in the seven pillars, regardless of whether they’re identified by the checker).
- Delete the old version from your Canvas course and upload the edited version.
How do I fix PDFs?
PDFs are a common type of file used in Canvas courses. To fix PDFs, open the PDF with Adobe Acrobat Pro, available to all UW-Superior instructors. Use the following guide to learn how to make PDFs digitally accessible using Acrobat’s accessibility checker: How to Make PDFs Accessible

Are there automated options for fixing documents?
If you’re unable to fix a document using the methods listed above, or you’d prefer a simpler option, there are two other options available:
- Replace the document with a permalink to course materials available through the Jim Dan Hill library’s databases, or…
- Convert documents to Canvas pages using UDOIT Advantage. This new feature is available in UDOIT by clicking the “Review Course Files” tab.
The Seven Pillars of Accessibility
In the previous section of this guide, we explained you should use “the Seven Pillars of Accessibility to design accessible content.” Following these principles will help you prevent digital accessibility errors and make content that’s easy to read on a range of devices.
We’ve summarized each of these pillars below. For more detailed information about each pillar, and how to apply them, enroll in our UW-Superior Digital Accessibility Training for Instructors.
Alternative Text
Add text descriptions to non-decorative images in 150 characters or less.
Color Contrast
Ensure that there is sufficient contrast between background and foreground colors. Do not use only color to emphasize text.
Headings
Use the style formats built into the application you're using to add headings. In Canvas, that's the formatting dropdown menu in the Canvas RCE. Start with the lowest-level heading, and don’t skip headings, regardless of how they look.
Links
Make hyperlinks descriptive. Avoid using raw URLs or phrases like "click here."
Lists
Use the provided list tool in the content editor to create all lists. Do not manually create lists by adding hyphens or dashes before lines.
Tables
Format tables with a column and/or row header, as well as a caption. Use tables for comparing data side-by-side, not for arranging text on the page. Don't merge cells or leave cells blank.
Captions & Transcripts
Include accurate captions with videos. Include transcripts with audio-only content.
